You rely on smoke detectors to warn you before flames appear, but how they sense combustion is technical: ionization chambers detect tiny charged particles from fast-burning fires, while photoelectric sensors register larger particulates from smoldering sources; both measure changes in particle concentration or light scattering long before visible flame. Understanding these mechanisms and their limits tells you which sensor fits each space—and why placement and ventilation matter.
Why Early Detection Matters for Smoke Detectors
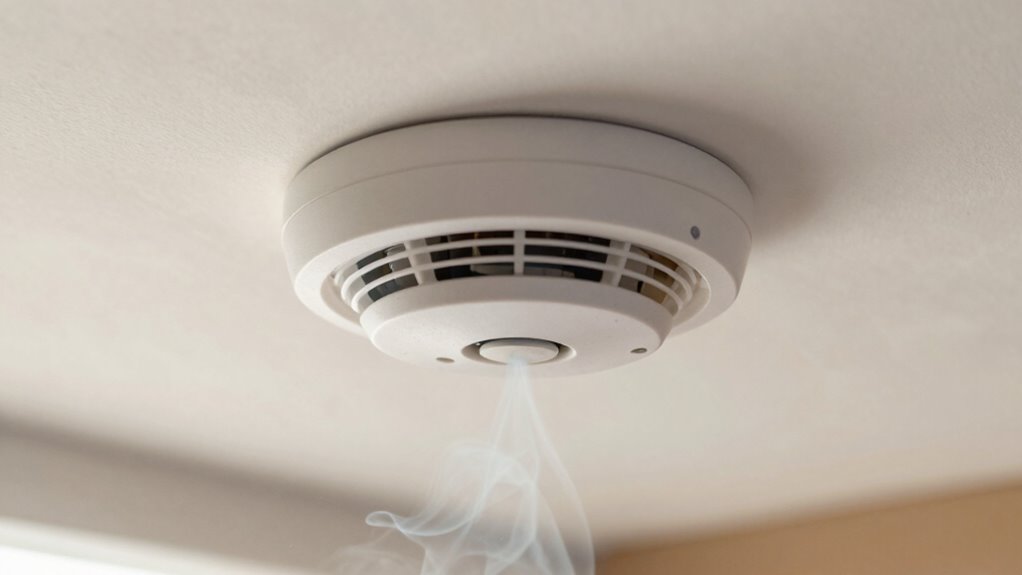
Because smoke is often the earliest reliable indicator of a developing fire, detecting it before flames appear gives you the best chance to prevent heat buildup and rapid flame spread; early detection reduces response time, limits property damage, and greatly improves occupant survivability by enabling prompt suppression, evacuation, or ventilation measures.
You’ll rely on smoke detection systems to provide quantifiable lead time: alarm initiation intervals, sensor sensitivity thresholds, and time-to-flame models inform your mitigation decisions.
By prioritizing placement, maintenance, and sensor type selection—ionization versus photoelectric—you’ll optimize detection for likely combustion sources and minimize nuisance alarms that degrade response.
Integrating detectors with building automation lets you trigger HVAC shutdown, door controls, and notification hierarchies automatically, reducing human latency.
Routine testing, documented calibration, and adherence to performance standards guarantee the system’s statistical reliability.
In short, early smoke detection is a measurable, controllable component of fire prevention strategy that converts fleeting aerosol signatures into actionable alarm cues.
How Smoke and Gases Behave in Homes
You’ll observe that smoke forms stratified layers as hot combustion products rise and cool at ceilings, creating a high-concentration layer that can propagate horizontally.
You’ll also note that gas movement follows pressure, temperature, and ventilation gradients, producing predictable flow paths through doorways, ducts, and stairwells.
Understanding these layer formation and flow patterns is essential for placing detectors and predicting detection timing.
Smoke Layer Formation
When a fire starts, smoke and combustion gases stratify into distinct layers driven by buoyancy and ventilation, creating a hot, smoke-rich upper layer and a cooler, clearer lower layer. Understanding that stratification governs visibility, tenability, and heat transfer is essential for accurate risk assessment and mitigation.
You’ll observe that smoke density varies vertically: a concentrated upper layer attenuates light and increases radiant heat, while a thinner lower layer preserves tenable conditions. Different smoke types — flaming, smoldering, and pyrolysis products — influence particle size distribution, temperature, and optical properties, altering stratification speed and layer thickness.
You should assess layer interface height, temperature gradients, and entrainment rates to predict occupant exposure and detector performance, and to inform ventilation or suppression strategies.
Gas Movement Patterns
Although driven primarily by buoyancy and pressure differentials, smoke and combustion gases in homes follow complex, channelized paths influenced by openings, ductwork, and temperature gradients; understanding those patterns is critical for predicting smoke spread and detector response.
You’ll observe that gas diffusion competes with bulk flow: convection moves hot products upward and laterally while molecular mixing smooths concentration gradients.
Smoke stratification produces distinct layers whose heights and persistence determine detector activation and occupant exposure. For practical assessment, consider:
- Vertical channels: stairwells and chimneys concentrate upward flow, accelerating stratification and reducing lateral dilution.
- Horizontal conduits: ducts and ceiling voids propagate gases rapidly, altering local concentrations and detector timing.
- Openings and leakage: doors, vents, and cracks modulate pressure, reversing flows and complicating predictive models.
Smoke Detectors: Ionization vs. Photoelectric
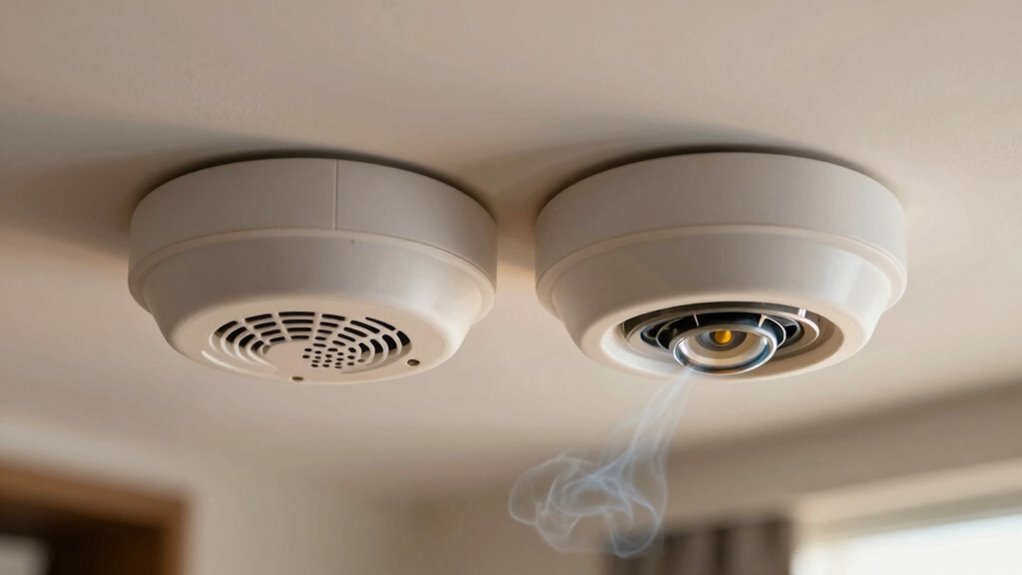
You’ll compare how ionization detectors use a radioactive source to maintain an ion current that drops when small combustion particles enter the chamber, triggering an alarm.
You’ll examine how photoelectric detectors detect larger, smoldering particles via light scattering, offering faster response to those fire types and fewer false alarms from cooking.
Together, these mechanisms define complementary detection strategies you can deploy for optimized home protection.
Ionization Detector Mechanism
Because ionization detectors rely on a small radioactive source to create and sustain an ionizing current, you should understand their fundamental operating principle before comparing them to photoelectric units.
You’ll see gas ionization establishes a steady current between electrodes; smoke particles reduce current by attaching to ions, triggering the alarm.
Focus on ionization principle and detection sensitivity: these determine response time to small, fast-flaming sources. You should evaluate electrical thresholds, source isotope type, and chamber geometry when examining performance.
- You’ll consider ion generation rate versus particle attachment probability.
- You’ll analyze how sensitivity settings affect false alarm likelihood and power consumption.
- You’ll inspect maintenance factors: source degradation, electrode contamination, and calibration drift.
This technical view helps you judge suitability for different environments.
Photoelectric Detector Advantages
Having examined how ionization detectors use an ionizing current and particle attachment to detect fast-flaming sources, we can consider how photoelectric detectors approach the same problem from a different physical mechanism.
You’ll find photoelectric efficiency derives from optical scattering geometry and detector responsivity: a light source and photodiode are arranged so particulate scattering produces a measurable signal with low false-positive propensity.
In practice, smoke sensitivity to larger combustion aerosols is superior because scattering cross-sections scale with particle size; you’ll detect smoldering, low-flame events earlier.
Maintenance constraints differ: lens contamination degrades response predictably, enabling calibration intervals. Power consumption and electromagnetic immunity are favorable compared with ionization units.
For system design, select photoelectric units when early detection of dense, smoldering smoke is prioritized.
Dual (Combination) Detectors : Why They Help
When you’re evaluating detection strategies, dual (combination) detectors pair ionization and photoelectric sensing in a single unit to improve responsiveness across a wider range of fire signatures.
You’ll appreciate the combination benefits because a single detector detects both fast-flaming and slow-smoldering fires, reducing blind spots inherent to single-technology units. This enhances detector efficiency in mixed-risk environments and simplifies zoning decisions.
- You get broader spectral sensitivity: ionization responds to fine combustion particles, photoelectric to larger particulates, covering complementary detection regimes.
- You reduce false negatives by correlating signals, so an alarm triggers only when one or both sensors meet calibrated thresholds.
- You streamline maintenance and inventory: one device replaces two separate models, though each sensing chamber still requires periodic testing and cleaning.
Technically, dual detectors optimize trade-offs between sensitivity and specificity through firmware-level logic, improving detection performance without relying on additional sensor types.
Heat, CO, and Smart Sensors: What They Add
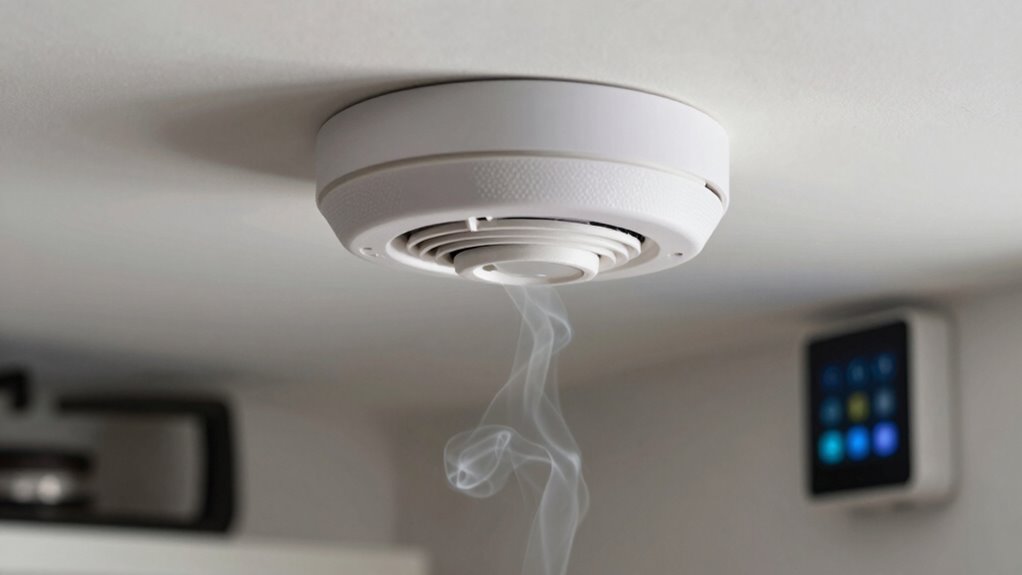
Although smoke detectors remain the cornerstone of early fire warning, adding heat sensors, carbon monoxide (CO) detectors, and smart-sensor features fills specific detection gaps and improves situational awareness: you’ll close detection blind spots by combining modalities. Heat detection triggers on rapid temperature rise or fixed thresholds, useful where smoke won’t reach sensors quickly (garages, kitchens). Carbon monoxide monitors detect combustion byproducts that indicate smoldering fires or incomplete combustion, offering life-safety alerts before smoke alarms activate. Smart sensors add data fusion, remote alerts, and adaptive thresholds, reducing false alarms while prioritizing critical events.
| Sensor Type | Primary Signal | Operational Benefit |
|---|---|---|
| Ionization/Optical smoke | Particle count | Early plume detection |
| Heat sensor | Temperature rate/threshold | Robust in smoky environments with delayed aerosols |
| CO detector | CO concentration (ppm) | Detects smoldering/incomplete combustion unseen by smoke |
Design the system so sensor outputs are correlated and alarm logic escalates based on combined evidence.
Where to Place Detectors and How Airflow Affects Them
Combining smoke, heat, CO, and smart sensors only pays off if each device is sited where it can reliably sample the local air the system is expected to protect.
You need to assess ideal placement by mapping likely smoke paths, considering ceiling height, obstructions, and HVAC zones. Airflow dynamics determine where smoke first accumulates and how fast it dilutes; place detectors where buoyant or forced flows concentrate particulates.
Assess placement by mapping smoke paths, ceiling height, obstructions and HVAC zones to sample where particulates concentrate.
- Install ceiling-mounted smoke detectors near expected plume rise zones, away from corners and dead-air pockets.
- Position heat and CO units lower where stratification or ducting creates vertical gradients that reduce smoke concentration aloft.
- In rooms with mechanical ventilation, mount sensors upstream of return grilles to sample undiluted air before mixing.
You should validate placements with smoke tests or CFD models when risk justifies it.
Use manufacturer spacing guidelines but adjust for local airflow dynamics to minimize false negatives and guarantee early detection.
Test and Maintain Detectors for Reliable Alerts
Because even small sensor failures or environmental changes can defeat an otherwise well‑designed detection scheme, you should implement a scheduled testing and maintenance program that verifies detector functionality, sensitivity, and placement integrity.
You’ll establish documented procedures that define detector maintenance tasks, testing frequency, pass/fail criteria, and corrective actions. Use objective measurements: current draw, optical obscuration or ionization response, and alarm threshold verification against calibrated test instruments.
Record environmental conditions that affect sensitivity—temperature, humidity, dust load—and adjust cleaning or replacement intervals accordingly. For networked systems, validate communication paths and time-to-alarm under simulated fault conditions.
Prioritize high‑risk zones for increased testing frequency and maintain traceable logs for regulatory compliance and trend analysis. Replace sensors reaching end‑of‑life or exhibiting drift beyond tolerance.
Train personnel on standardized test rigs and interpretation of results so you can rapidly distinguish true detector faults from transient anomalies, minimizing false negatives while controlling false alarms.
What to Do If an Alarm Sounds but You Don’t See Flames
What should you do when a detector trips but you don’t see flames? You’ll treat the event as a potential hazard: follow alarm protocols, assume smoke or thermal anomalies exist, and act methodically.
First, verify the situation without exposing yourself to risk. Check corridors and entry points for odor, visible smoke, or hearing-impaired indicators. If none are present, proceed to the structured checklist.
- Evacuate nonessential occupants to a predetermined assembly point; confirm accountability and report status to emergency services.
- Isolate utilities if trained: cut HVAC and close doors to limit smoke propagation; document actions for responding crews.
- If safe and trained, perform a controlled investigation using a flashlight and thermal imager; avoid re-entry after alarm reset.
These safety measures align with incident command principles: preserve life, prevent spread, and provide accurate information to responders.
Maintain records of the activation, detector logs, and any corrective maintenance required.
Frequently Asked Questions
Do Pets Trigger Smoke Detectors Frequently?
Sometimes — pets can trigger detectors, especially with high detector sensitivity: pet behavior like rapid movement or heavy shedding creates particulates or air disturbances that ionization or photoelectric sensors misinterpret, so calibration and placement reduce false alarms.
Can Smoke Detectors Detect Vaping or Incense Smoke?
Yes — you can detect vaping and incense; vaping detection and incense sensitivity depend on detector type, placement, and particle concentration. You’ll find ionization sensors less sensitive, photoelectric ones more responsive to larger aerosol or smoke particles.
How Long Do Smoke Detector Batteries Actually Last?
Like a clock’s steady heartbeat, your detector’s battery lifespan typically runs three to ten years depending on type; you’ll set a replacement schedule: replace single-use alkaline yearly, sealed lithium every 10 years, test monthly for precision.
Do Low Ceilings or Lofts Affect Detector Performance?
Yes — low ceilings and lofts can alter detector performance: ceiling height dictates sensing volume, airflow and stratification; detector placement must be optimized (centered, distance from walls/fixtures) to guarantee timely smoke detection and avoid dead zones.
Can Kitchen Cooking Regularly Cause Detector Failure?
An ounce of prevention: yes, frequent kitchen smoke can degrade detector sensitivity over time, so you’ll see nuisance alarms, sensor contamination, and eventual failure if filters or cleaning aren’t performed, requiring calibrated replacement or maintenance.